Bud Profiled on TJ3 History YouTube Channel
TJ and the team at TJ3 History visited Bud to learn more about his wartime experiences, and then replicated them using online flight simulators.

To Fly and Fight is now an Audiobook!
For the first time ever, the book is now available as an Audible Audiobook. First Chapter is narrated by 100 year old Bud Anderson.
Click the buttons below to listen to an audio sample and buy on Amazon.com, or subscribe on Audible.
Praesidus Watch Company Releases A-2 Bud Anderson Limited Edition
The Praesidus Watch Company has released a limited edition A-2 based on the watches Bud used throughout his career. The caseback features a small serialized disc of actual P-51D Mustang metal and an engraving of Bud’s “Old Crow” P-51D, and Bud’s signature.

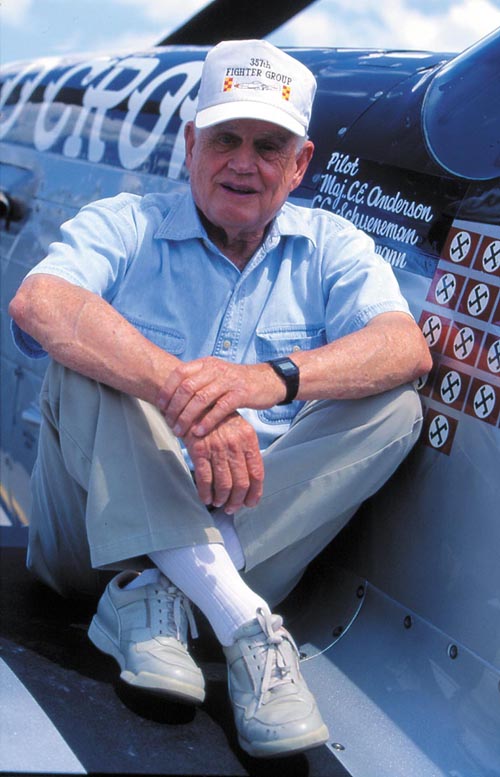
Bud is a WWII Triple Ace who flew the P-51 Mustang Old Crow, while assigned to the 357th Fighter Group “Yoxford Boys,” 8th Air Force, Leiston Field, United Kingdom. Bud was the leading Ace of the 363rd Fighter Squadron with 16 1/4 victories. In July 2008, Bud was inducted into the National Aviation Hall of Fame and in 2013, Bud was inducted into the San Diego Air and Space Museum’s International Air and Space Hall of Fame! In 2015, Bud was awarded the Congressional Gold Medal, with all the American Fighter Aces. In 2017, Bud was inducted into the EAA Warbirds of America Hall of Fame and awarded the Air Force Association’s Lifetime Achievement Award. Bud’s close friend Mr. Jack Roush has restored P-51 Mustangs, exactly as Bud flew them during WWII. His latest Mustang is Bud’s P-51B Old Crow. Bud has been featured on many special TV and Video Productions. Most recently the History Channel and the Military Channel. In December 2022, Bud received an honorary promotion to Brigadier General. Chief of Staff of the Air Force, General Charles Brown, presided over the ceremony and pinned the new rank on Bud.
Browse this site, learn about aviation history, the brave men Bud flew and worked with and order your autographed copy of Bud’s amazing book “To Fly and Fight”. Autographed photos are also available and can be personalized upon request.
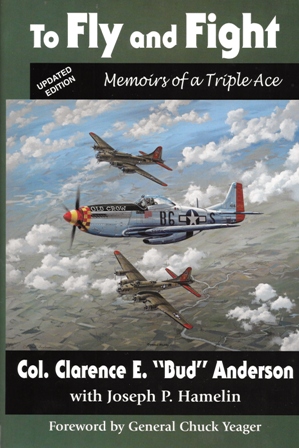
Read the Book – To Fly and Fight
Updated copies of WWII Ace Bud Anderson’s book are now available.
This updated book has 40 new photos (some in color), new forewords by NASCAR great Jack Roush and German Ace Gunther Rall, updates and new stories and an addendum.
Want a sneak peak? Experience air-to-air combat in WWII by reading the first chapter of Bud’s book online now!
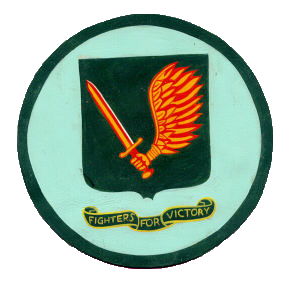
Tribute to the 357th Fighter Group
“The Yoxford Boys”
“The 357th is credited with 595 1/2 air victories, 2nd only to the great Hub Zemke’s 56th Group, which was in combat much longer. Considering the time factor, the 357th was the highest scoring group in 8th Air Force.” – Merle Olmstead
Bud’s Heroes – Fallen Comrades of the 357th
Dedicated to the memory of 363rd squadron pilots: Capt. Jim Browning and Capt. Eddie Simpson. Both men were killed in combat in the European theater of operation during WWII. Bud named his son, James Edward Anderson after these two heroes.